Creative Kids: Paint Rockets Process Art Activity
Inside: A paint rocket STEAM/Process Art project for kids ages 3 and up! I walk you through what worked and didn’t work for this project that we adapted from Steamstaional. This is the first activity in the Creative Kids Mini Series. Click here to download the experiment to print and do at home!
Let’s get creative! In the first post of this series, I unpack what creativity is, what it takes to cultivate creativity in kids, and why we have to pull it out of or allow it to grow bigger in some kids.
A great way to cultivate creativity and raise creative kids is to introduce them to process art.
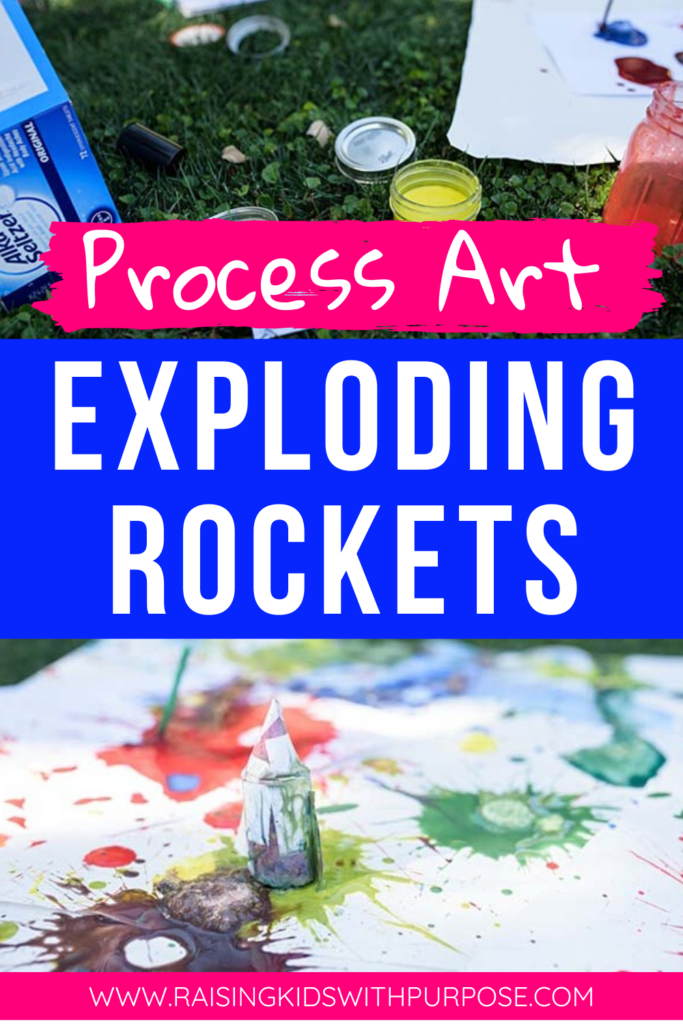
I had never heard of this concept until my sister-in-law (who is the most incredible human I have ever had the pleasure of knowing) told me how it’s good for our kiddo’s brains. In fact, she transformed her formal dining room into a Process Art Studio! It basically looks like you’re in a room at a Children’s Museum. No joke.
Complete with art, craft and office supplies, building materials and recyclables and tools, this space has been life-changing for their family.
When we visited over Christmas break, I stood in their dining room admiring all the colorful and creative artwork that plastered the walls. Large canvases with melted crayon wax dripping down the middle, custom-designed dress sketches, pipe cleaner sculptures, mobiles, paintings, paper plate creations and I’m probably missing many other types of artwork that surround their former dining room.
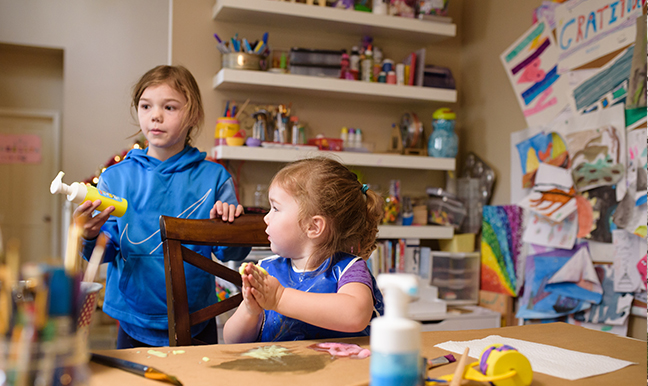
Seeing how much my boys entertained themselves (WITHOUT screens!) and how it positively affected their behaviors and moods, I wanted to find ways to bring some of this magic back home for my creative kids.
Table of Contents
What is Process Art?
Okay, so back to Process Art.
What exactly does this phrase mean, why do kids love it and how is it helpful for brain development?
Process Art simply means creating art in a way that focuses more on the act of creating it than the outcome. Producing art for the outcome is called Productive Art.
It’s not painting to create a display piece but rather painting to experience what the paint feels like when it hits the canvas or whatever material the child chooses. It’s finding different ways to use the paint. Or figuring out what happens when different colors are mixed together.
Another key component of process art is that it’s self-directed and choice driven. The parent or teacher can still pick the specific project. Then, within the project, they allow the child to let his or her imagination and creativity run wild!
Why Kids Love Process Art
Process art is unstructured and full of choice!
Kids are born with a need to have autonomy. So not only are they able to express themselves through art, they are also able to be creative.
Remember, creativity is novel and useful. When you hand a bunch of materials over to your child to create something with, the creative possibilities are endless.
Engaging in process art also gives kids the freedom to be who they are.
With process art, there are no rules.
Even if you choose a specific activity to do like the paint rockets (see below), your kids still have choices and can run with it in any way they would like. This is the part that I LOVE about process art and really any art.
It’s like a window into my children’s personality and true self. What they create always reflects back on who they are as a person. When we stop and pay attention to these things, we can have a greater appreciation for our children as people.
The Benefits of Process Art on Kids and Their Growing Brains
I probably could fill up an entire blog post with how this kind of art benefits kids from babies and toddlers to teens!
A huge benefit is that this kind of art increases a ton of skills. Here are a few of the skills learned:
- Creativity and imagination skills
- Critical thinking skills
- Fine and gross motor skills
- Sensory skills
- Self-esteem and self-confidence
- Collaboration (if creating with others)
- Leadership skills (as he or she has to figure out what to do and how to execute those decisions)
- Resilience and grit as they overcome challenges
- Curiosity
- Independence and self-sufficiency skills
According to the American Association of School Administrators (AASA), “Neuroscientists continue to find clues as to how the mental and physical activities required for the arts are so fundamental to brain function.”
Essentially process art helps wire the brain by engaging all the senses that lead to the ability to learn.
AASA continues to say that kids “…develop essential thinking tools – pattern recognition and development; mental representations of what is observed or imagined; symbolic, allegorical and metaphorical representations; careful observation of the world; and abstraction from complexity.”
Process Art Activity: Exploding Rockets
Like most of the world, we have been forced to do school at home. Although we have had our ups and downs, getting to do fun projects where my boys could tap into their creativity has been a great bonding experience.
As I mentioned, process art allows us to really see who are kids are beneath the surface.
For this project, we decided to combine process art with STEAM (Science Technology Engineering, Art and Math) to make exploding paint rockets.
We started by watching this YouTube video on rocket propulsion.
My kids totally schooled me as they already knew most of this stuff and I did not. Womp Womp.
I pulled out all the materials from the exploding rockets tutorial on Steamstational’s website plus a few other materials then let my boys CREATE!
I’ll walk you through what we did and give you some tips on what we found that worked and didn’t work. However, I encourage you to take risks and explore different and new ways to make paint rockets so you can cultivate even more creativity in your kiddos.
Materials:
- Alka Seltzer Tablets
- Film canisters
- Kids paint mixed with water in jars with a lid
- Large pieces of poster board or foam board
- Materials to decorate or add to your rocket
- Wipes, lots and lots of wipes (to clean up!)
Cherry On Top Crafts has washable poster paint that can work great! And they also have other craft supplies that would work to decorate the canisters.
And you can get other supplies like poster board from Dollar Tree!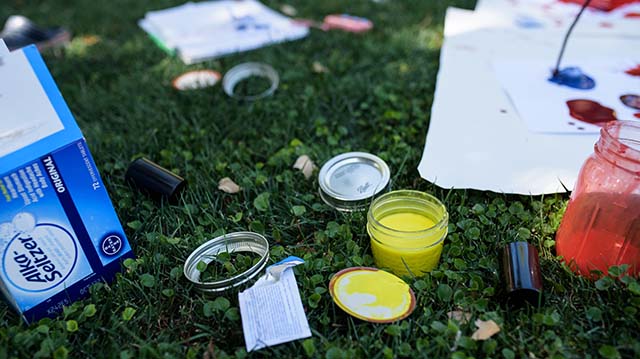
How To Make Paint Rockets
Step 1: Make The Rockets
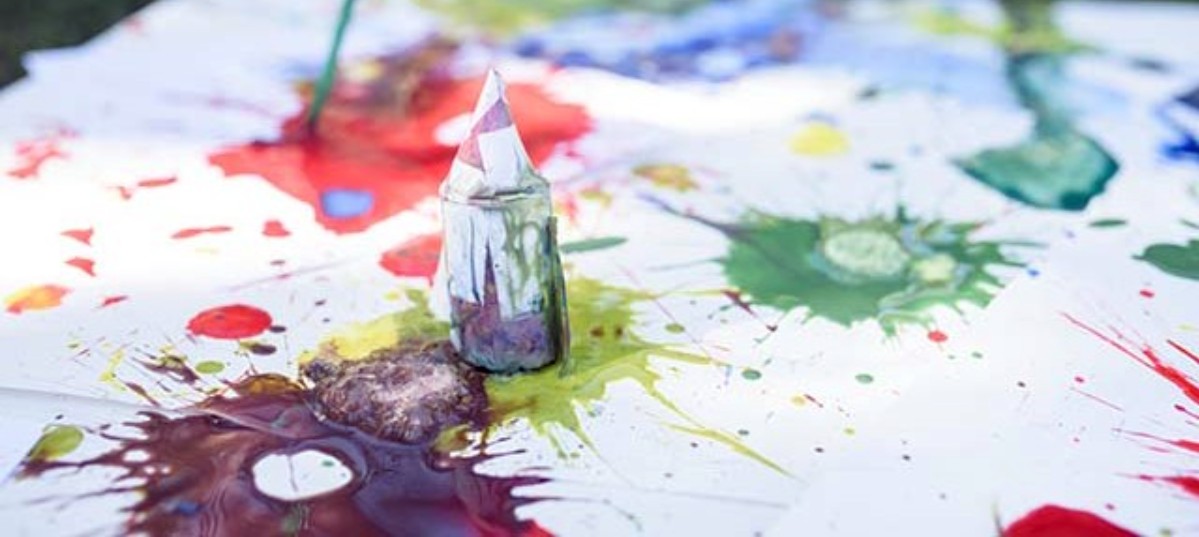
Use film canisters that will become the rockets. You can keep the canisters as is or decorate them to see how it affects how fast (or slow) the rockets fly or see if it impacts the art creation.
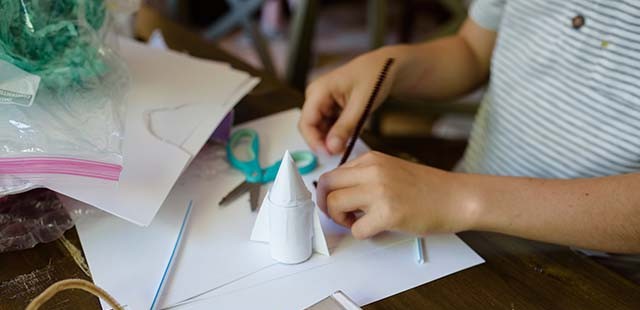
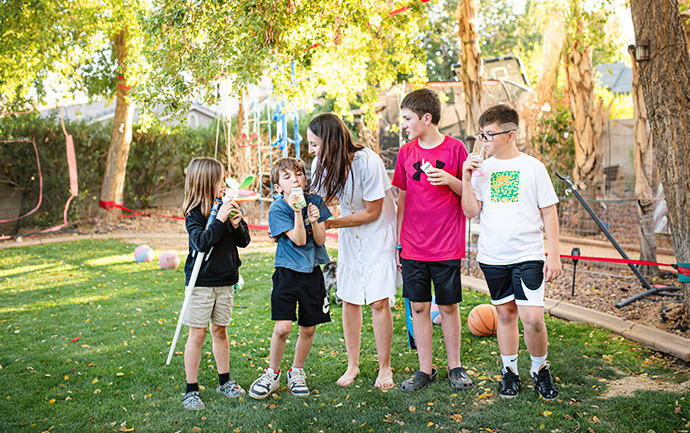
What We Did: This is where my boys really experienced the “process” in this project. I originally planned for them to follow the instructions. Instead, they wanted to make their rockets look like, well, rockets!
One son wrapped his in paper and included a rocket-like spherical pointed top. What I thought was super creative and fun was when he made a launching pad by taping a pipe cleaner to a piece of cardstock. He wanted to see if this would slow down his rocket or make it launch faster. And because our toddler mimics everything his older brothers do, he asked to have a similar style of rocket and launchpad too.
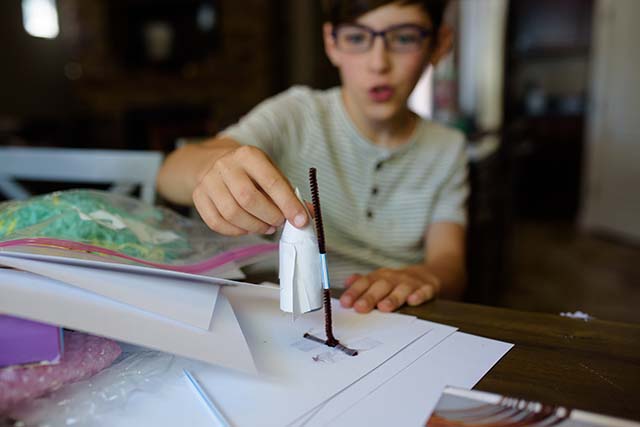
My other son used packing material (I’m not even sure what it’s called!) to make a parachute. He taped pipe cleaners all around the film canister then poked holes through the packing material to secure it in place. Part of his process was discovering that he put the parachute on the bottom side of the rocket so he had to figure out a way to switch it without undoing all of his work.
He did get a little frustrated but this is part of the process! As I said, grit and resilience are skills gained from process art…even if a few tears are shed.
Step 2: Prepare The Paint
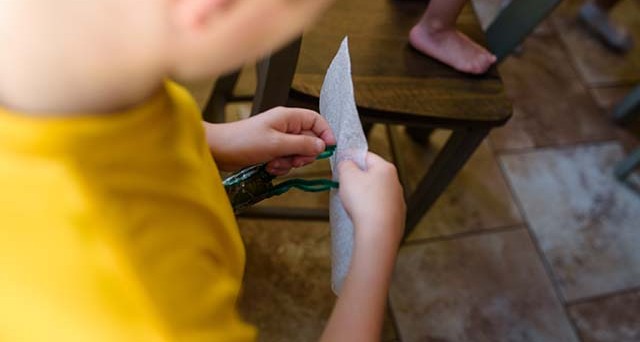
Choose a few colors of paint and mix it with water. Using any kind of containers with lids works best so you can save the paint for later and prevent paint spills.
Start with 50% water, 50% paint.
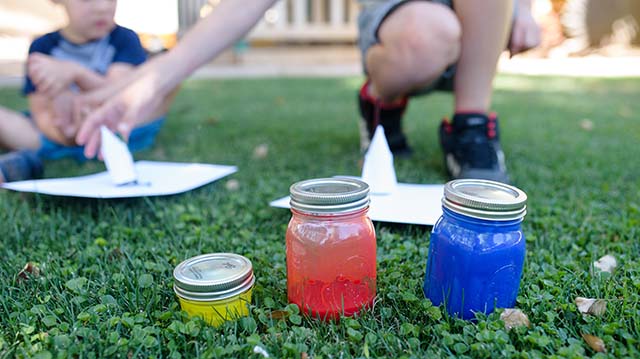
What We Did: The boys decided to use primary colors. They thought this would make for more dynamic colors on the poster board …and they were right!
We used mason jars we had on hand. The more paint you prepare, the more rockets you can do. The Alkaseltzer box comes with a ton of tablets so you can do this project over and over again.
We started with 50% water and 50% paint per the recommendation but found that by adding a little more water, the rockets shot higher.
Step 3: Set Up
Take all the materials outside into an area where the paint will not stain such as in your back yard or on grass.
You’ll need:
- The rockets you created
- Alka-seltzer tabs
- Jars of water/paint mixture
- Posterboard (or any kind of material for the paint to land on such as paper, canvas, foam board or maybe even cloth)
- Wipes or something to clean up with!
Once you spread out the materials you’re using to paint on, you are ready to watch rockets explode!
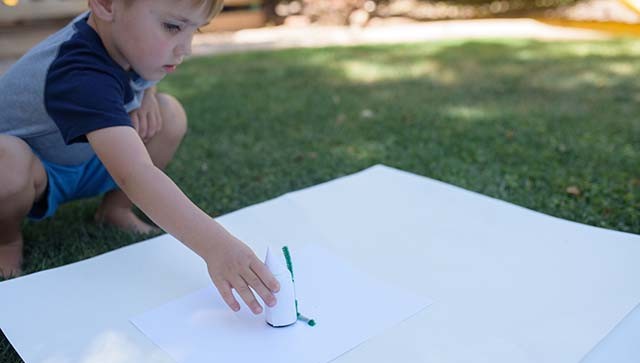
What We Did: We used poster board we already had from school projects.
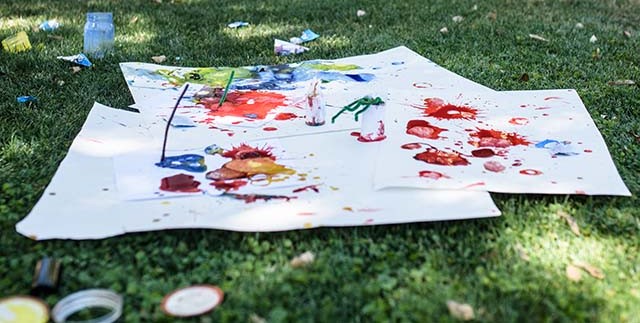
Each of my boys had their own. They overlapped them in the grass.
All of the other materials were placed on one side of the poster board sheets for easy access. Our boys started with clothes on but as it got messy, they took off their socks, shoes (and one may have taken off more…ha!).
Step 4: Watch The Rockets Explode And Create ART!
The last step is to explode the rockets.
- Put a small amount of the paint/water mixture into a film canister
- Drop an alka-seltzer tablet into the canister
- Immediately place the lid on the canister – make sure it’s TIGHTLY sealed
- Place the rocket on the poster board, foamboard, canvas or whatever you are using
- Watch it explode and launch into the air
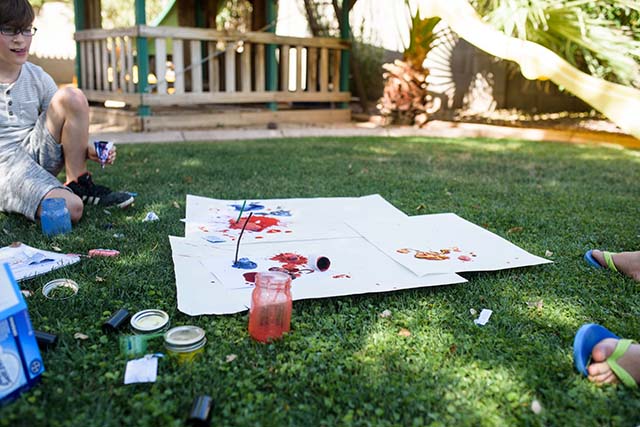
What We Did: At first, the canisters were popping immediately. The boys were not sure if they figured out exactly why this was happening. They think it has to do with how much water was in the mixture (more was better), how much of the mixture was put into the canister (about ⅓ full seemed to work best), if the lid was securely and tightly attached, to not use the launchpad, and that the canister needed to be shaken up before putting down.
We had one rocket shoot up higher than our house! The boys thought it was so cool but also got really nervous because of how fast the rockets exploded.
The End-Product
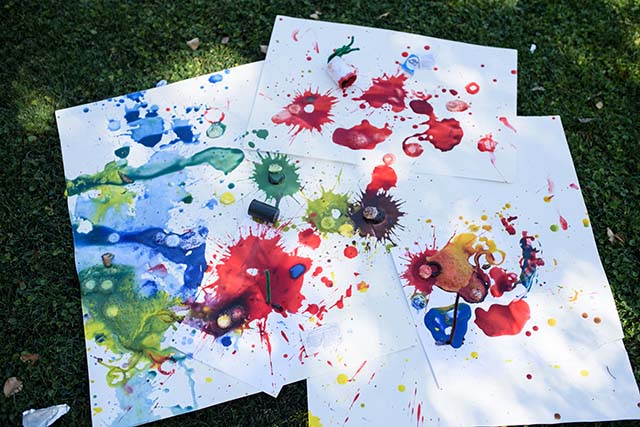
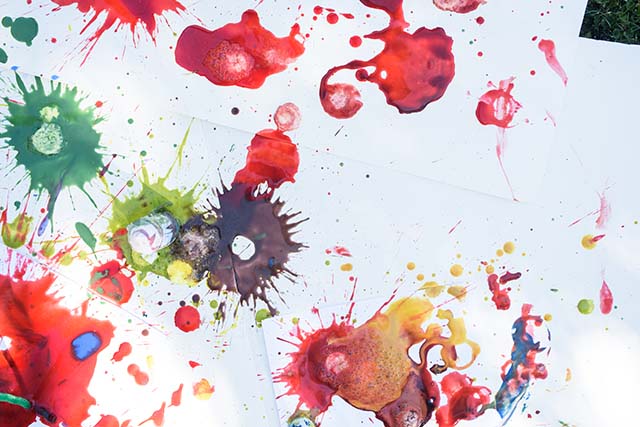
After the rocket explosions concluded, the art doesn’t have to end there. Since the paint is watered down and includes a disintegrating alka-seltzer tablet, you can finish by using the paint to create more shapes on the poster board.
What We Did: For this part, my boys were done so I actually decided to get a little creative myself. It was nice to be out in the yard by myself!
After removing the Alka-Seltzer tablets, I used the one poster board with the most paint to make creations on the other poster boards. It was kind of fun! Moving it in a circular motion, the paint dripped off making fun patterns.
Once I was done being a kid again, I put the finished artwork on the back patio to dry.
Conclusion:
Once your kids are done making their rockets explode, you can turn this into more of a learning or educational activity by talking about the speed, chemical reactions, the mixing of paint colors, or any other STEAM related concept OR you can just admire the art and ask your kids questions.
A great way to raise creative kids is to help them tap into their curiosity.
Sample questions to ask:
- Do you see how the colors mixed to make new colors? What colors do you see? Which ones are your favorite? Why?
- What made the rockets explode?
- What would you do differently if we did this again?
- What was your favorite part?
- Did anything surprise you? If so, what did?
- How long did it take for the rockets to explode?
- What caused the rockets to explode?
- What do you like most about the art you created?
- What other materials could you use?
Raising Creative Kids Through Process Art
Giving kids art supplies and the freedom to create art in any way they would like is the way to raise creative kids. If they get stumped or frustrated, encourage them to have a growth mindset, and push through.
There is a reason that art can be found all throughout history.
Our brains crave art.
We have been created to create.
For You! Paint Rockets Printable
Here is a free printable you can download when signing up for the Raising Kids With Purpose Newsletter. It includes all the steps and a reflection worksheet.
If you and your kids love doing this STEAM project, please share!




Wow this looks so fun! Will have to try this one day soon!
it was super easy and super fun!
The paint rockets sounds like a blast! My kiddos love making artwork, especially my 5 year old. All her pictures have a story to go along with it. 🙂
That’s so cool! I love watching creativity flourish!