Creative Kids: Super Simple Kaleidoscope for Kids
Inside: How art and science foster creativity in kids. Also included is a tutorial on how to create a kaleidoscope found on The PAST Foundation’s website. This is the third project in the Creative Kids Mini Series. Click here to download the experiment to print and do at home!
This is going to sound super cheesy but kaleidoscopes make me so happy.
When I was seven, I remember having one that I would stare at for the longest time. All the colors changing with each turn and the shapes! It was fascinating how the shapes would change and morph into new shapes.
Without realizing that I was a deep thinker or highly sensitive person, I’m sure I was drawn to kaleidoscopes because of what they represent. They can symbolize an escape of self-doubt or challenging times. Or really, any kind of change as the colors and pattered constantly become something different.
This post contains affiliate links, see disclosure policy for details.
When finding a project to do that fosters creativity, I knew my boys would be more interested if it also involved science or engineering. Making their own kaleidoscope totally marries the two! And as I mentioned, kaleidoscopes make me happy. Win-win!
Before we get to the project, as I did with process art and engineering, I am going to unpack why art in general is important for raising creative kids, the benefits and how art can be incorporated into a child’s life.
Table of Contents
The Importance of Art in Childhood
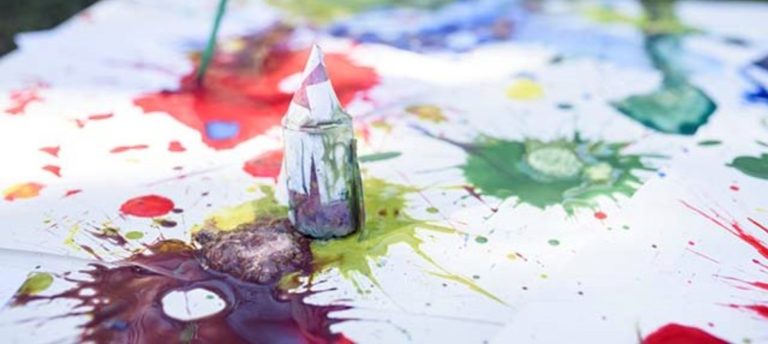
Any kind of artistic activity fosters brain development by stimulating both the left and right hemispheres. Art is often the first outlet a child has to express him or herself and the first way he or she interacts with the world.
Skills Kids Develop Through Art
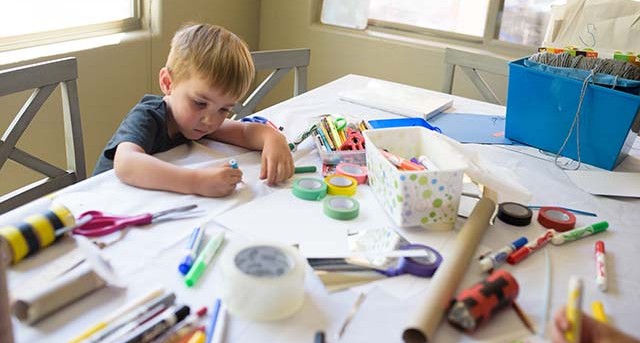
The abundance of skills art teaches a child can really have a positive impact on development. This is why art is so important. A child’s brain not only grows but his or her personality can be influenced simply through art.
Communication | Drawing, painting, or gluing pom poms to a piece of construction paper are all ways kids communicate visually. Feelings and emotions can be expressed and released through art.
Social and Emotional | Kids can learn these skills through collaborating on an art project, celebrating a friend’s art piece, or understand him or herself better which is the first step in developing empathy.
Problem-Solving and Critical Thinking | As a child creates art, he or she is solving problems and having to think critically about what the next step is. Kids can also learn how to solve problems by figuring out how to even use different materials and seeing what gets the results they want and what doesn’t.
Creativity | Ding ding ding! Ha! Art is such a way to tap into creativity. Making something that is novel and useful; using divergent thinking with convergent thinking.
The word, useful, doesn’t only mean productive, but can simply be helpful in a way that allows a child to express his or her feelings. Art is very useful in that way in our house!
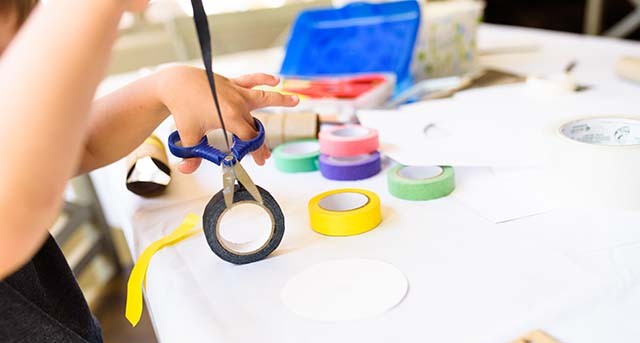
Fine Motor | When kids learn how to control a paintbrush, crayon, marker, pencil, or even scissors with their hands, they are working on their fine motor skills. Art is really great at increasing fine motor skills and some mediums can actually increase gross motor skills as well!
Benefits of Art For Kids
Besides all the skills that are gained through art, there are also some added benefits.
Here are a few:
- Increases academic outcomes because of the skills built.
- Helps kids process emotions and gives them words when they don’t have any.
- Provides kids with critical sensory input.
- Encourages motivation and innovation.
- Increases self-confidence and self-worth.
- Helps kids create connections with each other.
Easy Ways to Incorporate Art Into A Child’s Life
Art doesn’t have to be complicated or planned. With all the crazy amount of activities and crafts found on the internet, parents may feel the need to plan out their kids’ art time.
Actually, the more unstructured time kids can have with art supplies and the more freedom they have to create whatever they want, the more creativity will be cultivated and fostered.
Have Supplies Readily Available And Easy To Access
For toddlers, you may not want to have paint, markers, and any other destructive supplies easy to access, but if older kids are responsible and know the rules, give them the freedom to grab what they want when they want! A Cherry On Top is a great place to purchase art supplies.
Encourage Art Activities
My boys are tricky ones. If I suggest any kind of project regardless if it’s something they love, they tend to resist. So instead, I talk about art and encourage different activities.
If they are really wanting screen time although we have strict rules around screens, I’ll suggest watching a tutorial on Art for Kids Hub so they’re not just watching a screen, but also using their hands as well. Or I pull out an art supplies bin so when they see it, they’re self-motivated to start creating.
Create with Your Child!
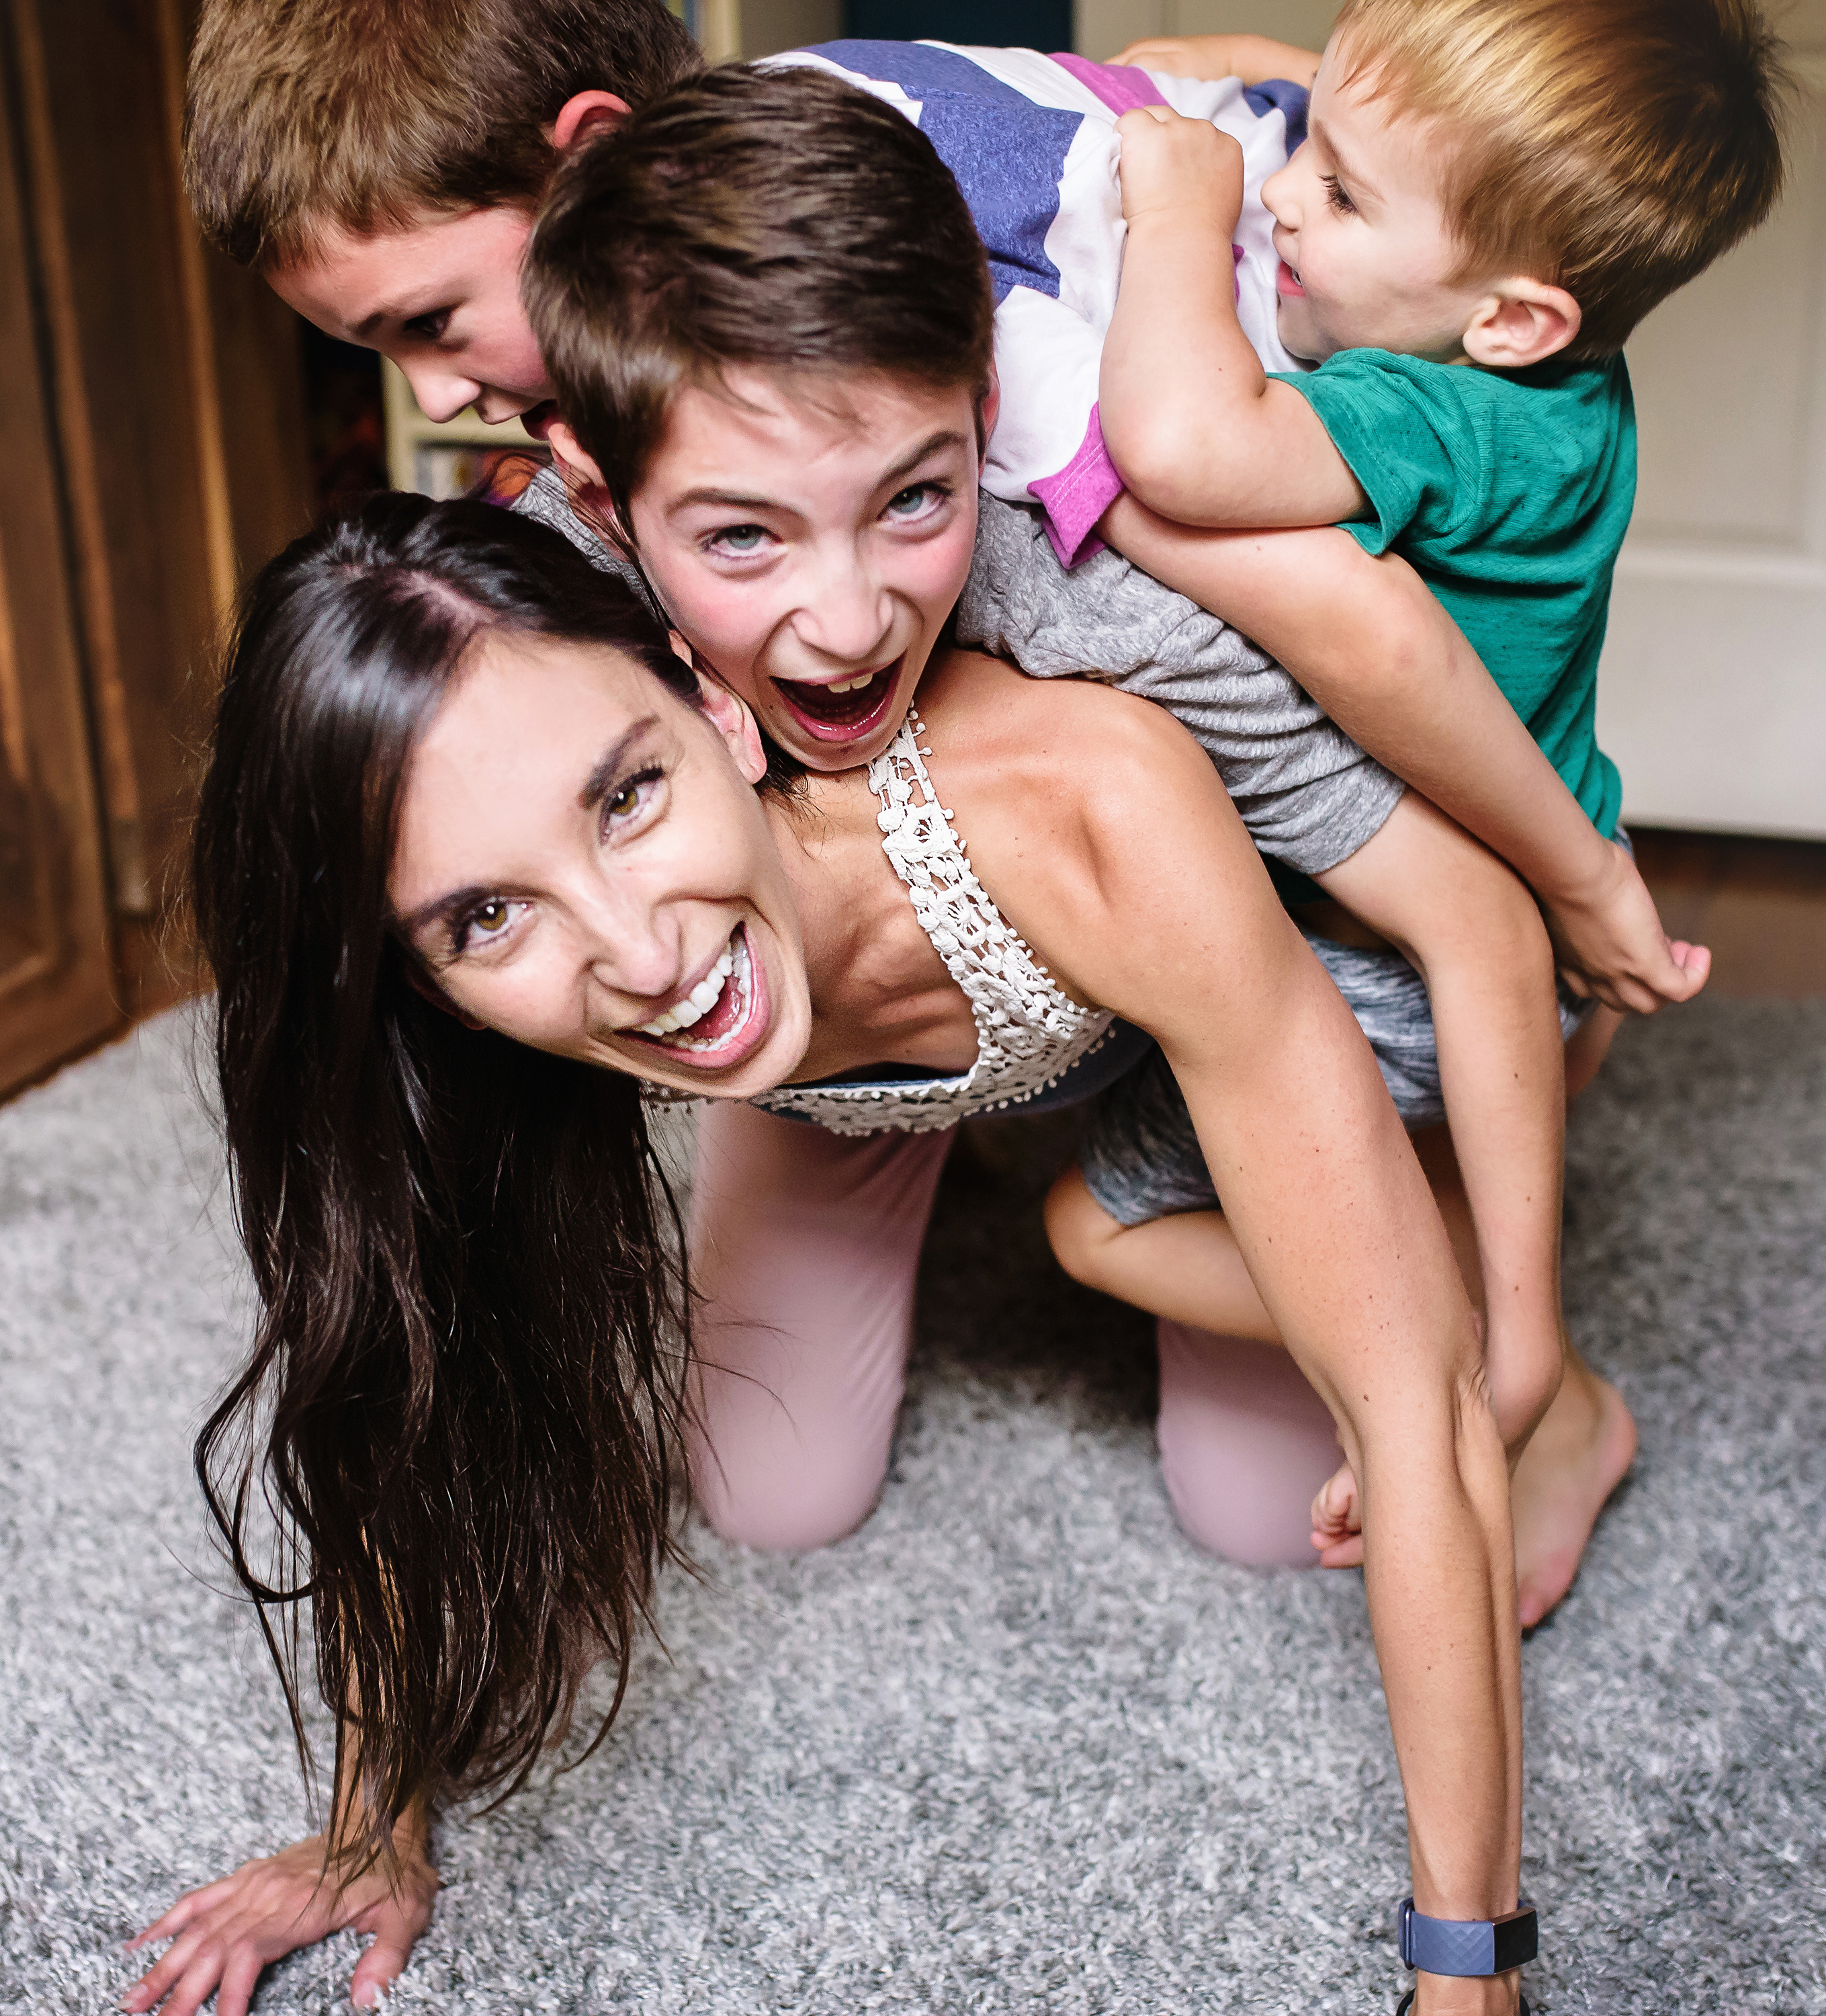
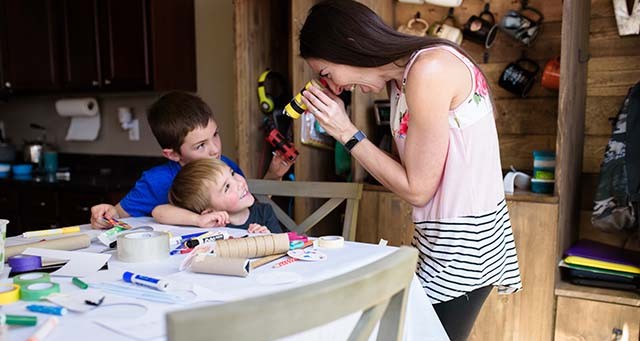
Kids learn by parents showing them what to do, not telling them. Creating art with your child not only encourages this kind of activity but can also be a really great way to connect and grow closer.
Read Next: 11 Ways to Build a Strong Parent-Child Relationship
Visit Museums or Take Art Classes
Give your kids the opportunity to see other people’s artwork. Younger kids may not appreciate staring at art, but they sure do like attending classes (like through Creative Bug) or creating art at places like a Children’s Museum.
How to Create a Super Simple Kaleidoscope
As I was looking for art and science projects to do for school to include in my free Home Education Resources eBook, I came across Design Challenges on the PAST Foundation’s website.
PAST is an organization that helps schools and districts develop transformative learning strategies. The design challenges they have created are free and are transdisciplinary which links different subjects in a project-based hands-on educational way! I absolutely love what they do!
This is an art project that also teaches about light, prisms and reflection.
Materials Needed:
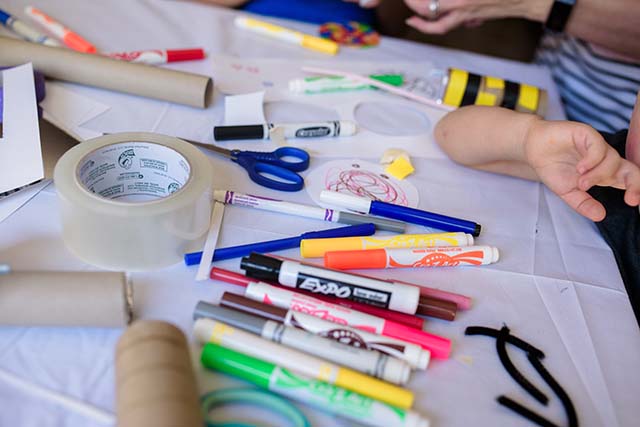
- Paper Towel or toilet paper roll (we even used a wrapping paper roll)
- Mylar or mirror sheets (We found these mirror boards from Amazon and they worked great!)
- Scissors
- Tape
- White card Stock
- Bendy straws (we got ours from the Dollar Tree)
- Materials to decorate with such as markers, colored pencils, crayons or stickers
Step 1: Cut and Fold Mirror Sheet
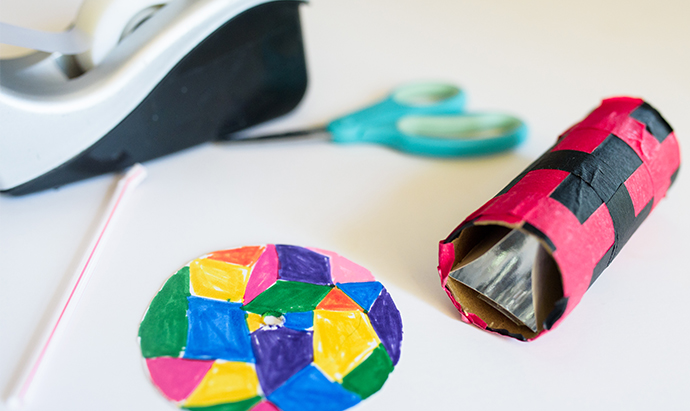
Cut the mirror sheet so you can tri-fold it and place it inside the toilet paper roll. The instructions said to do 10cm X 10.5cm rectangle, but we found that it depended on the kind of cardboard roll we used. This may take some trial and error in which you tri-fold the paper until it fits.
Step 2: Fit The Mirror Sheet Into Toilet Paper Roll
Once you fold the mirror board or mylar sheet, slide it into the paper towel roll. It should fit very snugly so it doesn’t move. We had to do step 1 and step 2 a few times to get it to fit.
Step 3: Decorate the Toilet Paper Roll
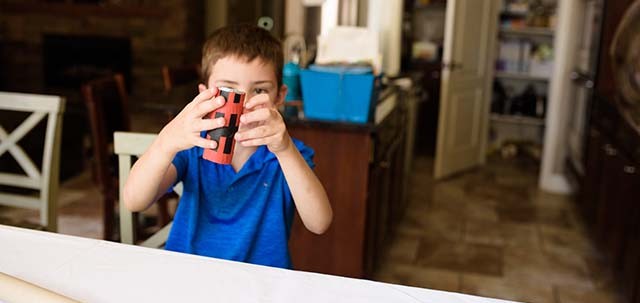
Use any kind of supplies to decorate the paper towel roll such as markers to draw pictures or stickers.
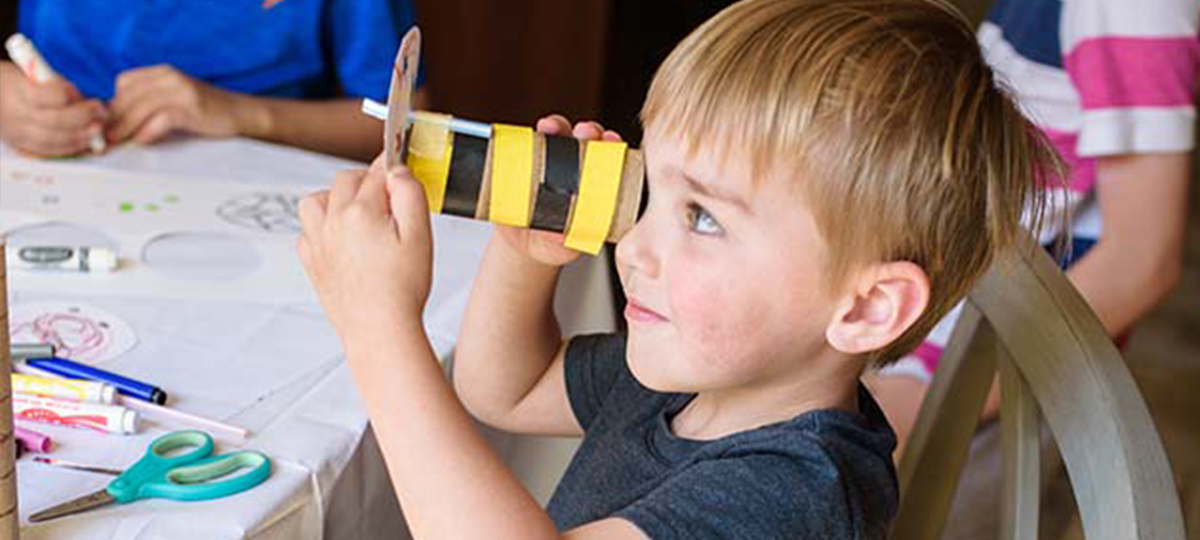
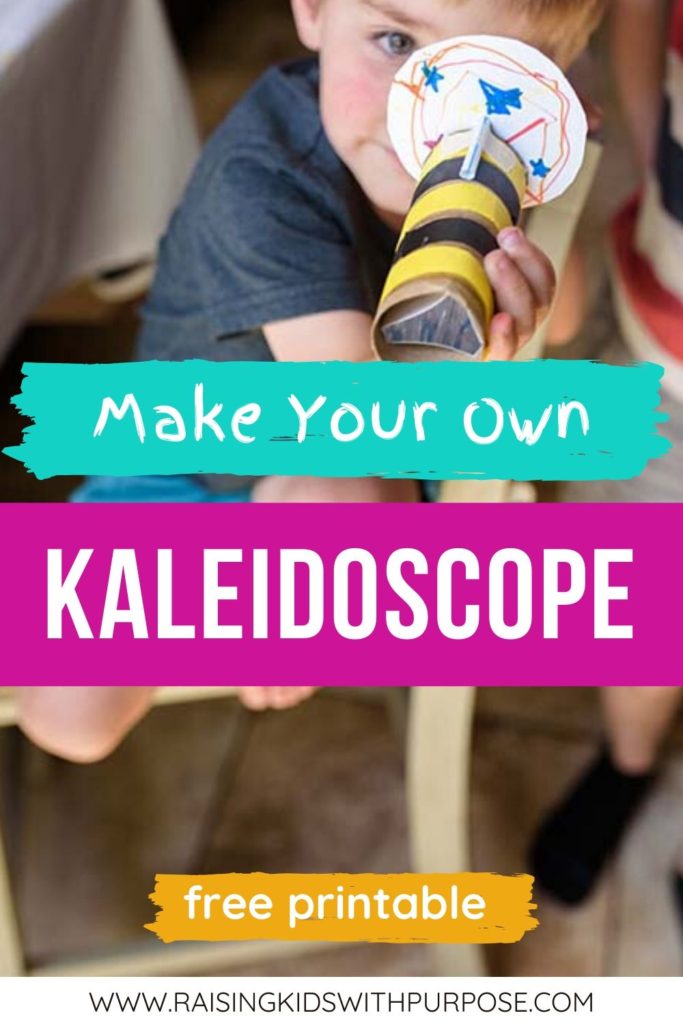
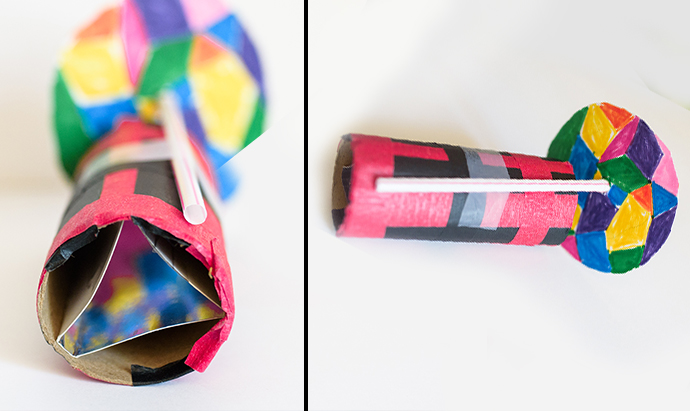
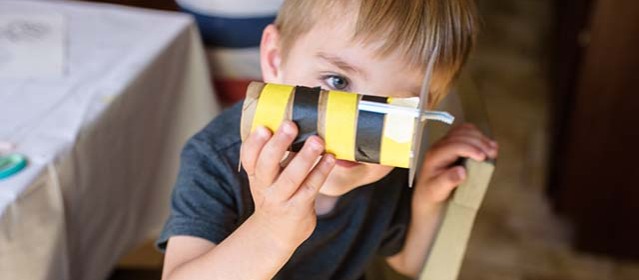
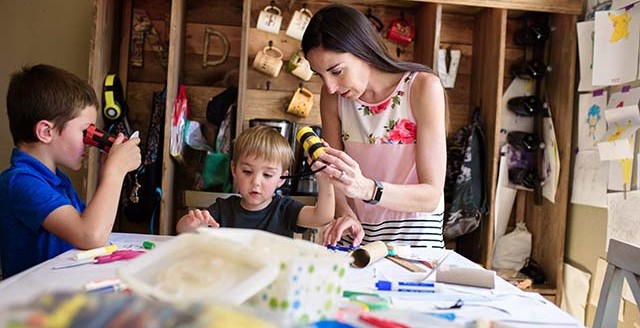
Two of my boys decorated their using this colored masking tape and it worked really well! One of my sons meticulously made a pattern using black and red squares while my toddler made a bumblebee by alternating yellow and black tape. Both were able to do this part without any help from me (with the design or application)!
Step 4: Cut and Tape the Straw
Cut the straw near the bendy part. Tape it to one end of the paper towel roll. This is going to be used to put the decorated cardstock circle on so it can spin.
Step 5: Cut The Card Stock Paper Into Circle & Decorate
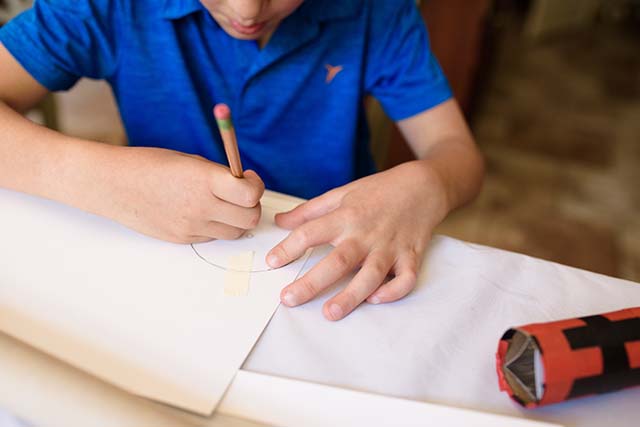
This is the part that will be reflecting so kids can get as creative as they would like. Before decorating, cut out the circle.
You can find a template on the PAST Foundation’s tutorial or you can make a circle that’s bigger than the toilet paper roll. The dimensions they give is one that is 3.75 inches in diameter. My oldest had fun doing the math to figure this out. While the other two used the template.
Once the circle is cut out, it’s time to decorate it.
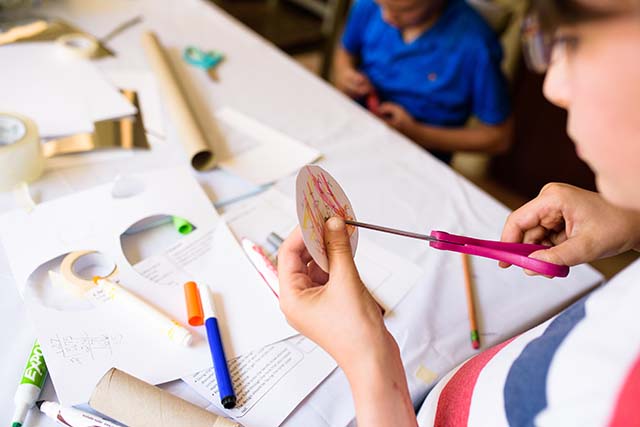
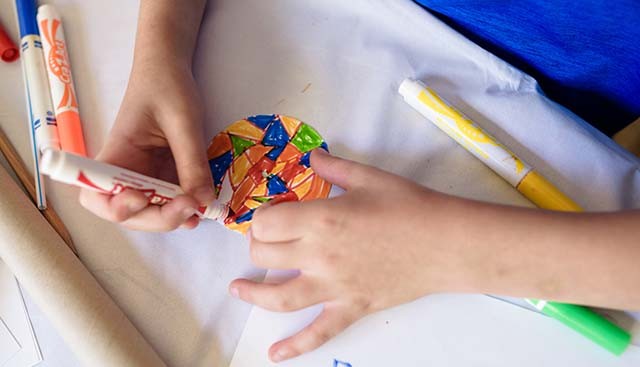
One of my sons made a mosaic with markers using bold bright colors. The other scribbled and my toddler asked me to draw shapes. The mosaic and shapes worked best for the completed kaleidoscope. Using shape stickers would work really well or drawing any distinct bold shapes will be the most transformative in the reflection.
Step 6: Attach Circle to Straw
Now you want to cut a tiny hole in the center of the circle so the straw can poke through. Slide the circle to the bendy part of the straw in order for it to stay attached. Make sure the design is facing the toilet paper roll.
Step 7: Enjoy Your Kaleidoscope
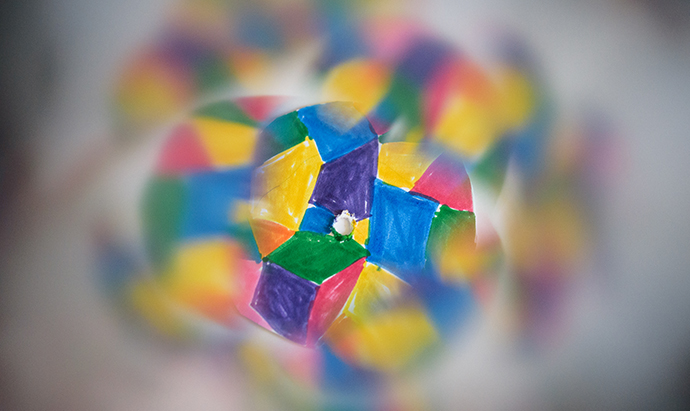
Once the kaleidoscope is finished, it’s time to put it up to light, look through the opening and spin the cardstock circle.
The boys had never seen a kaleidoscope before so they thought it was the coolest thing ever and I think got the same joy as I did growing up.
Your Free Kaleidoscope Instructions
Thank you, PAST Foundation for such a fun project! We absolutely loved it!
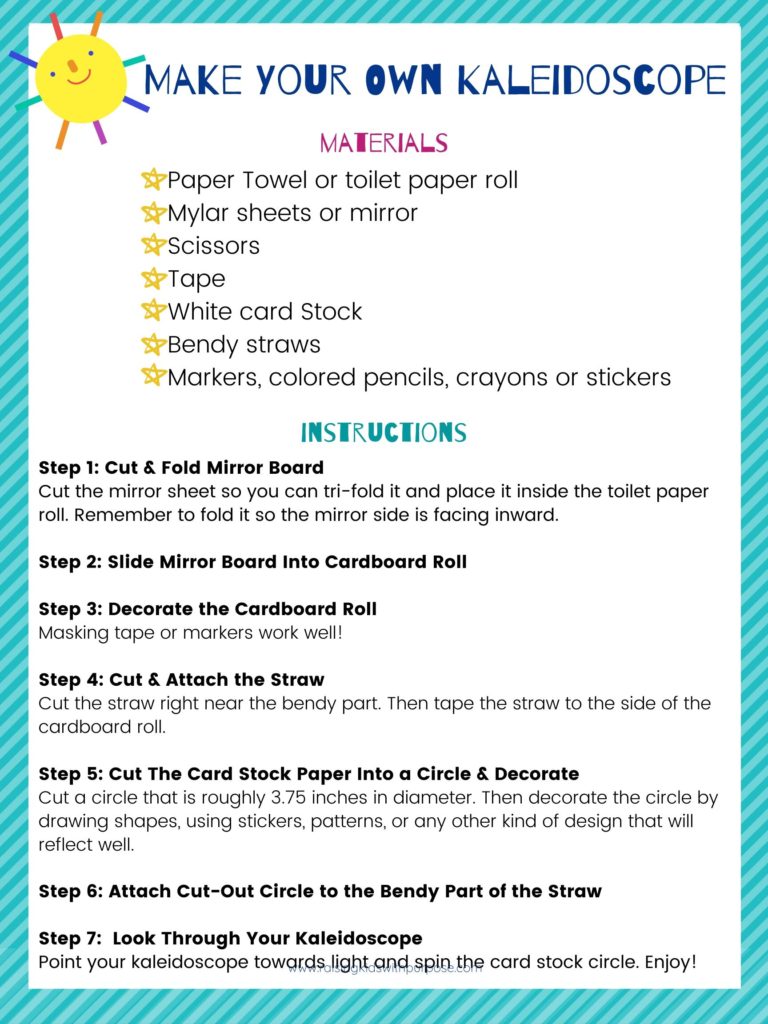
If you would like to print out instructions with questions and more details, you can head over to their website or I have simple instructions you can download here.
Smiles,


